
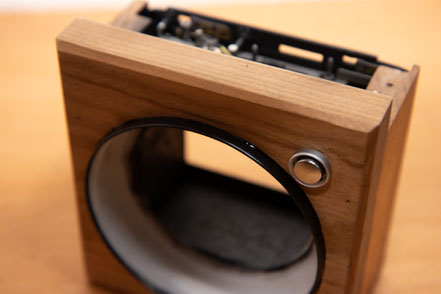
Bronica GS-1 Pinhole Camera


On the very first episode of the Sunny 16 Podcast, Graeme talked about trying to use a Bronica back to make a pinhole camera. Although his experiments seemed less than optimal, the idea of using a medium format film back as the foundation of the pinhole camera is a good idea. It allows the film back to manage the job of keeping light away from the film, and advancing the film the proper distance between frames, both jobs that the film back is designed to do well. So when thinking about building my own pinhole camera this was the path I decided to take.
Body
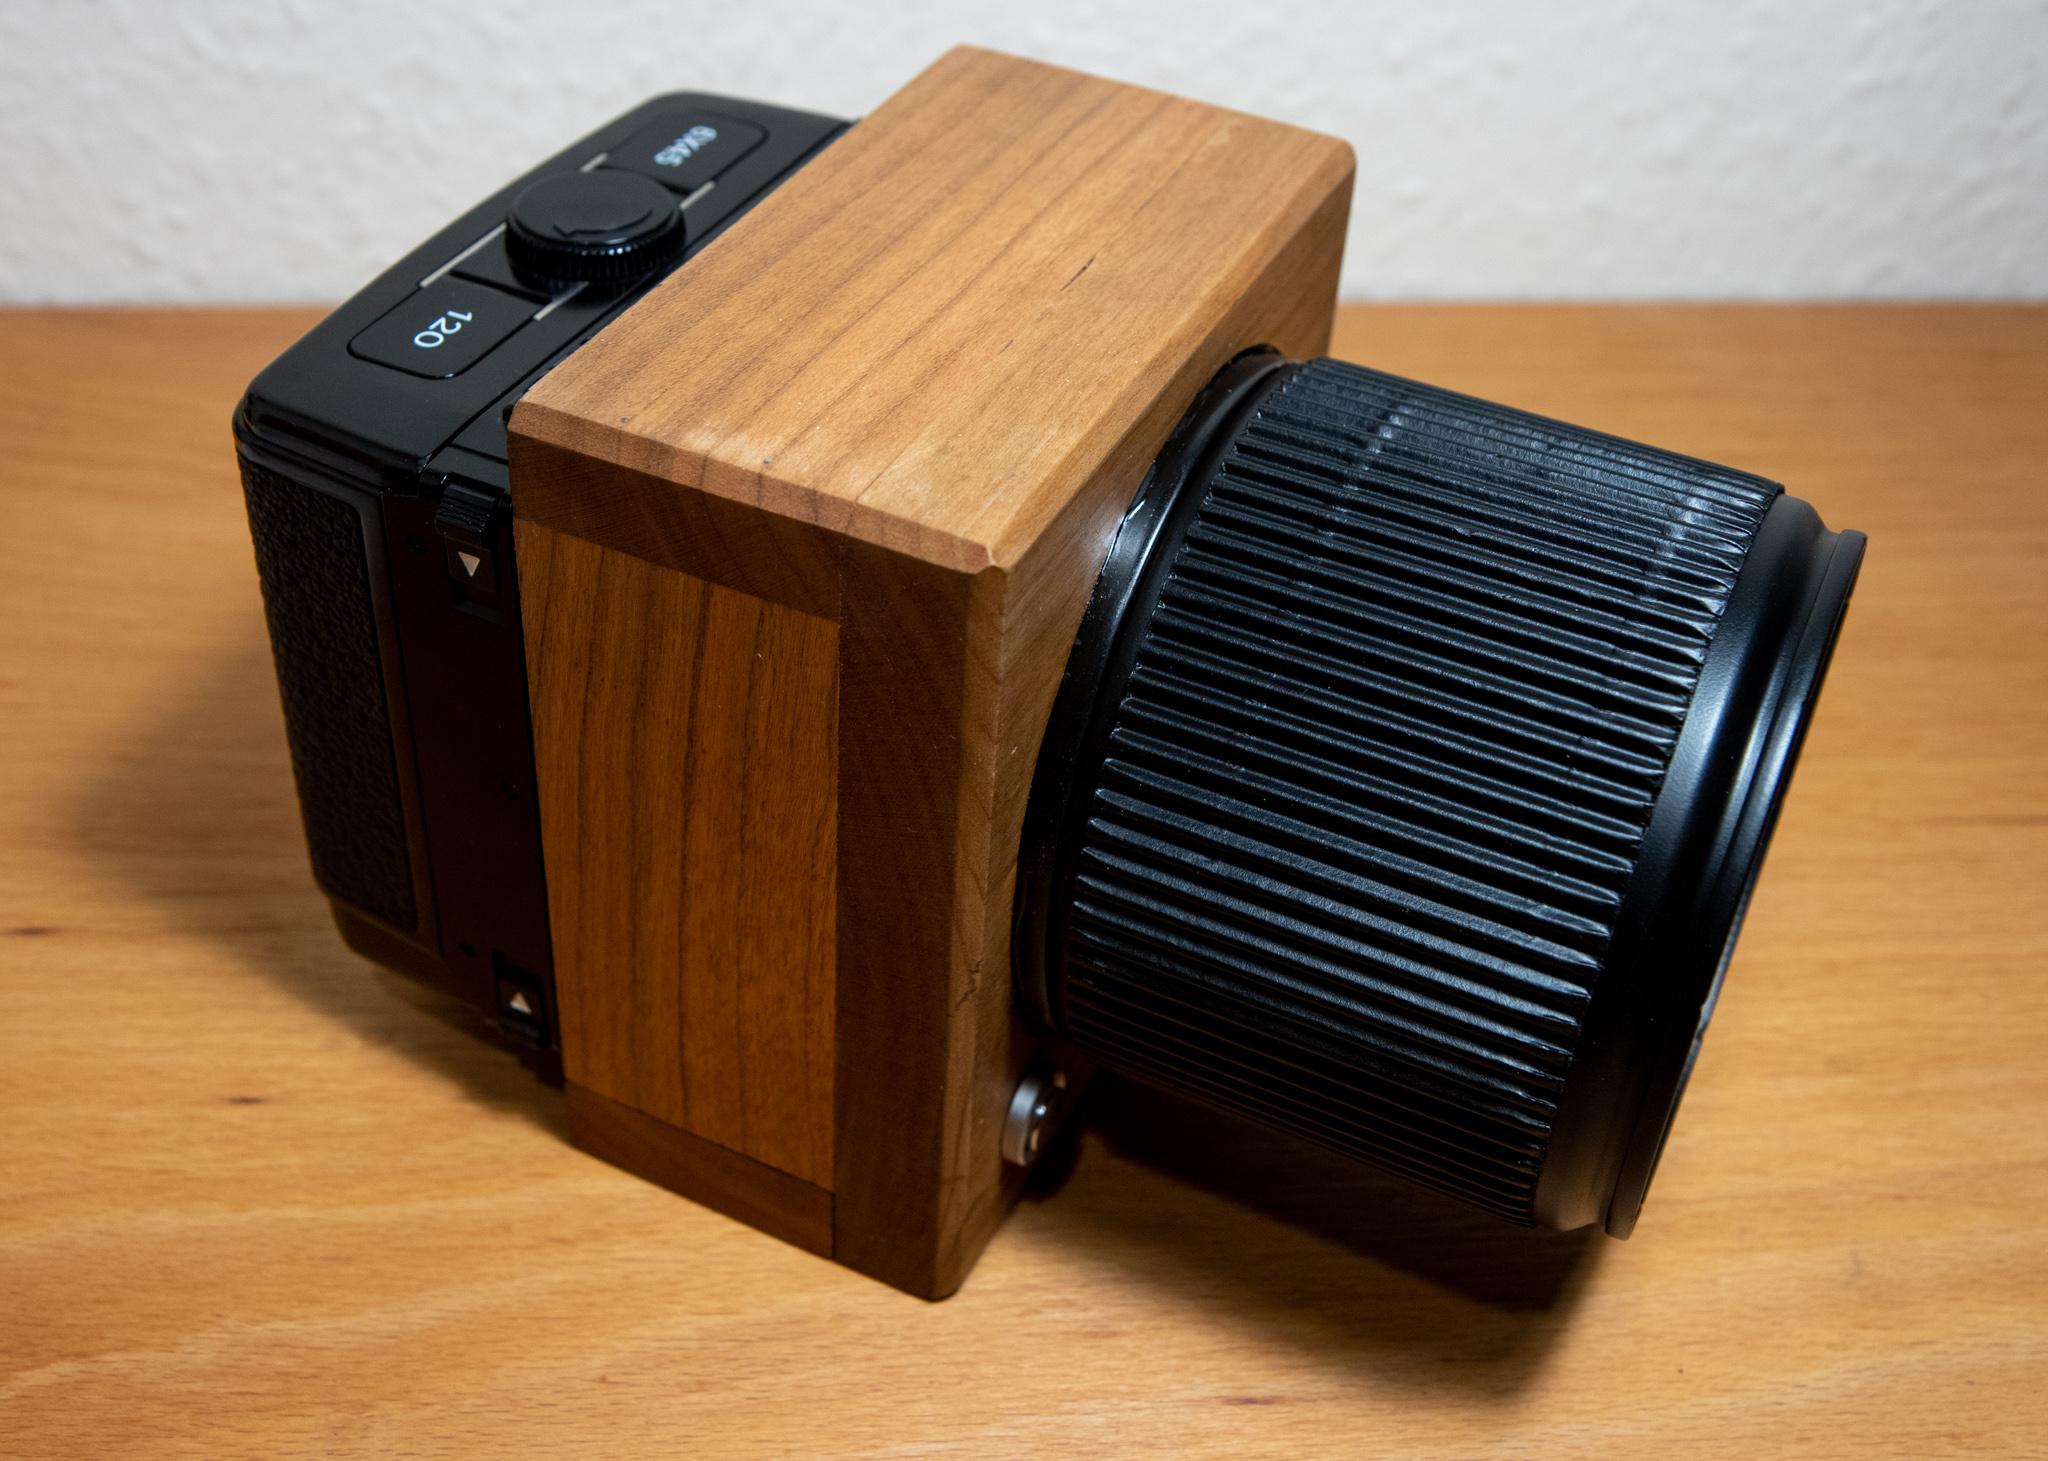
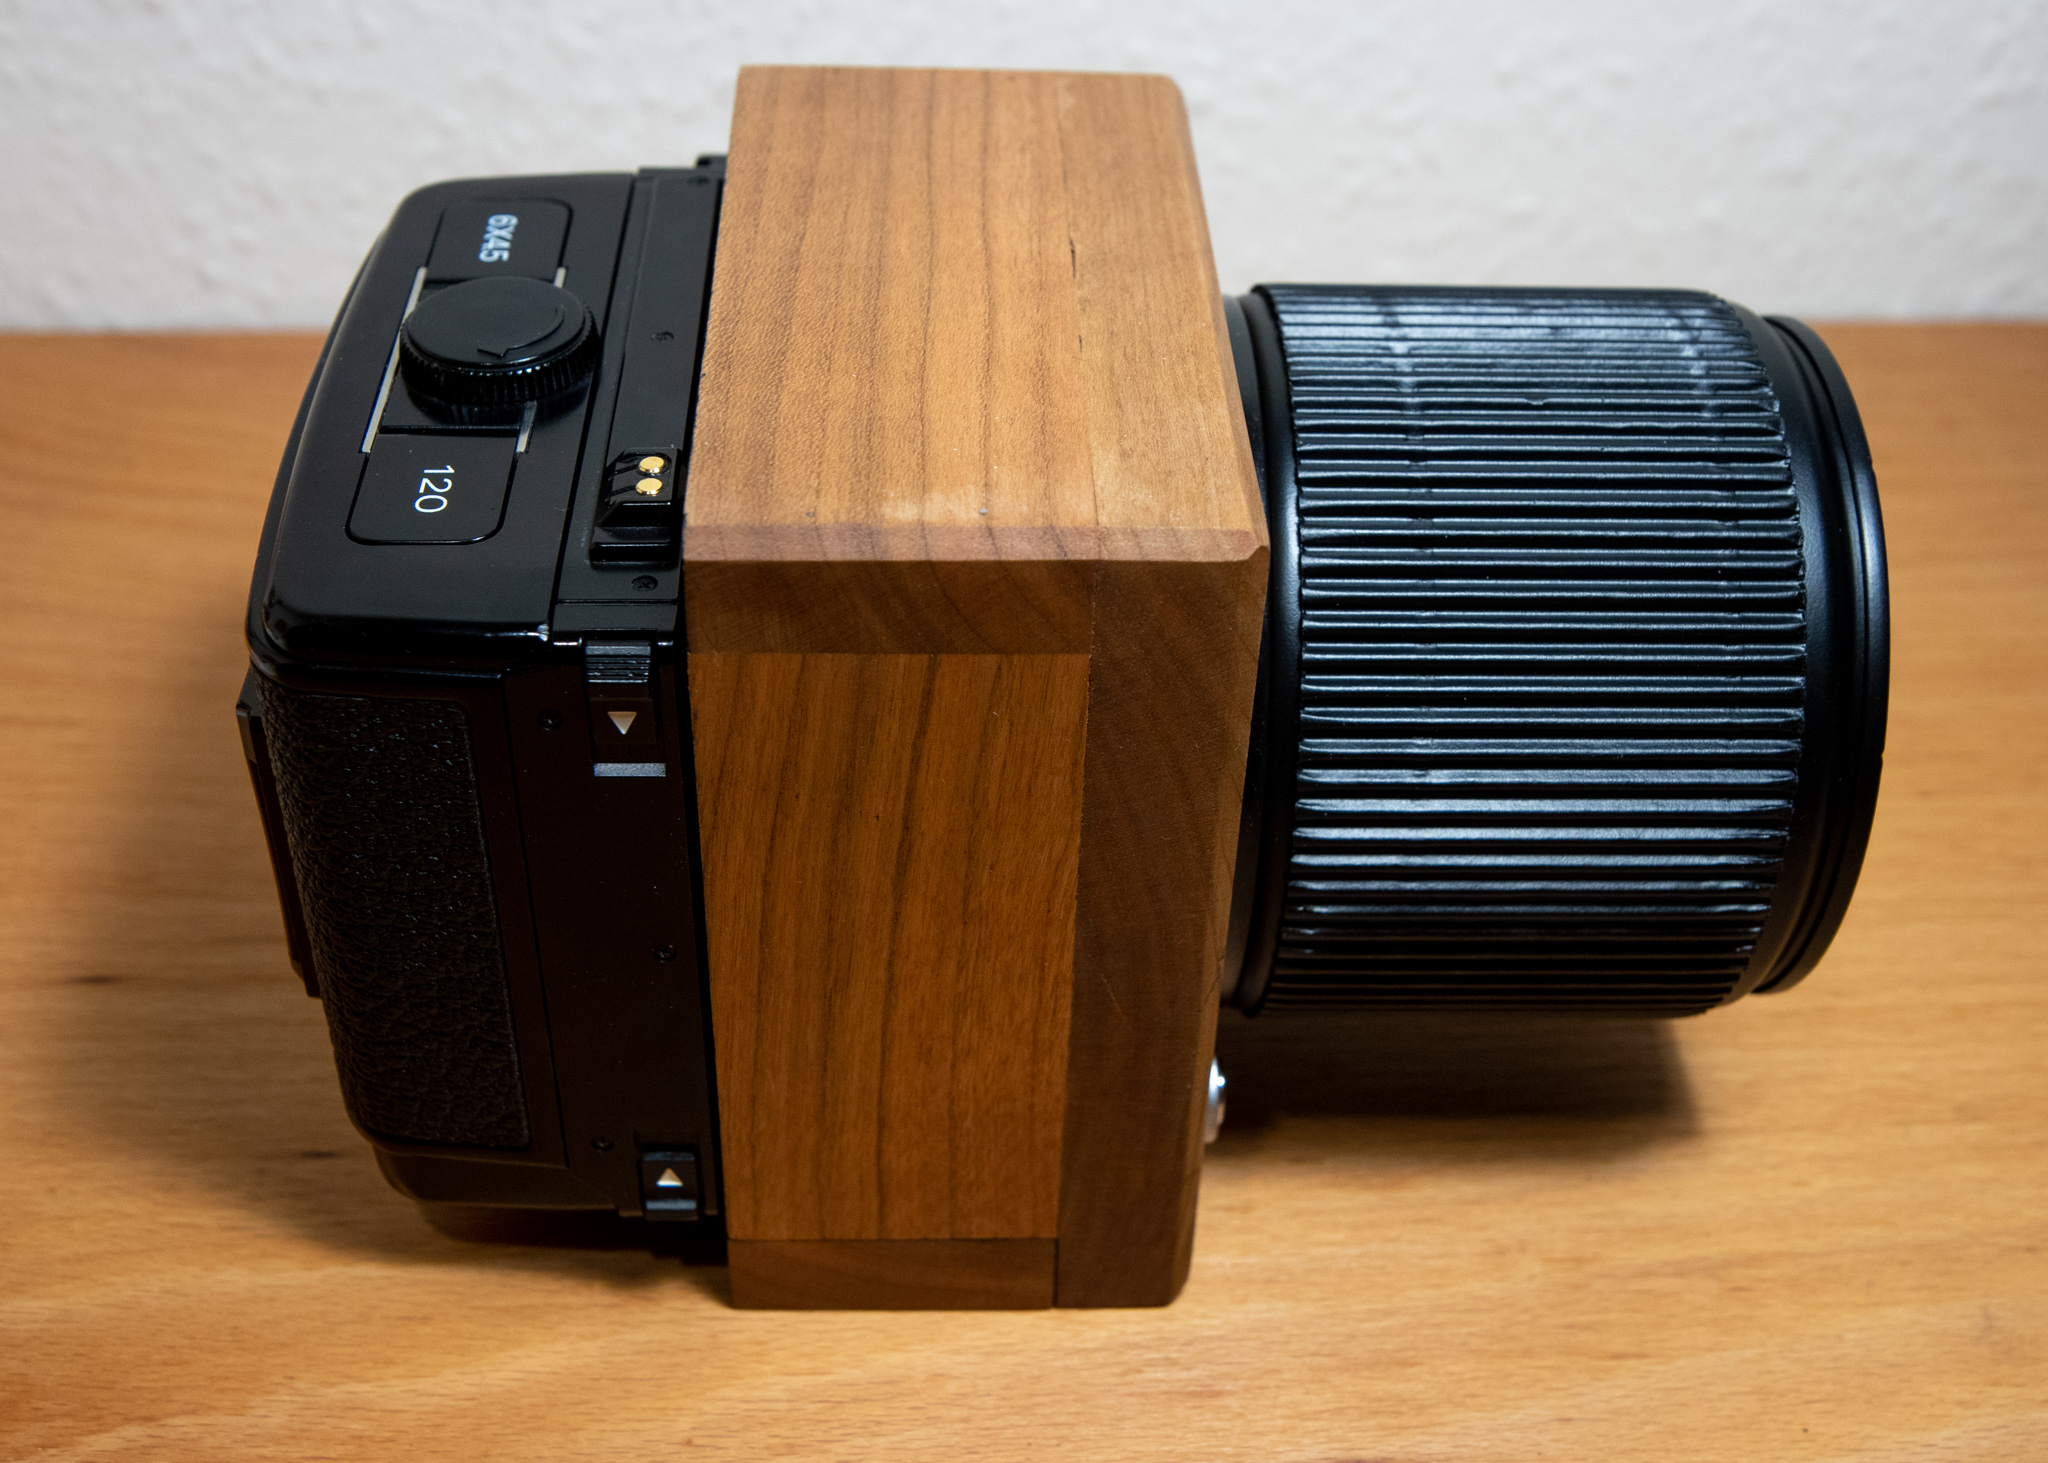
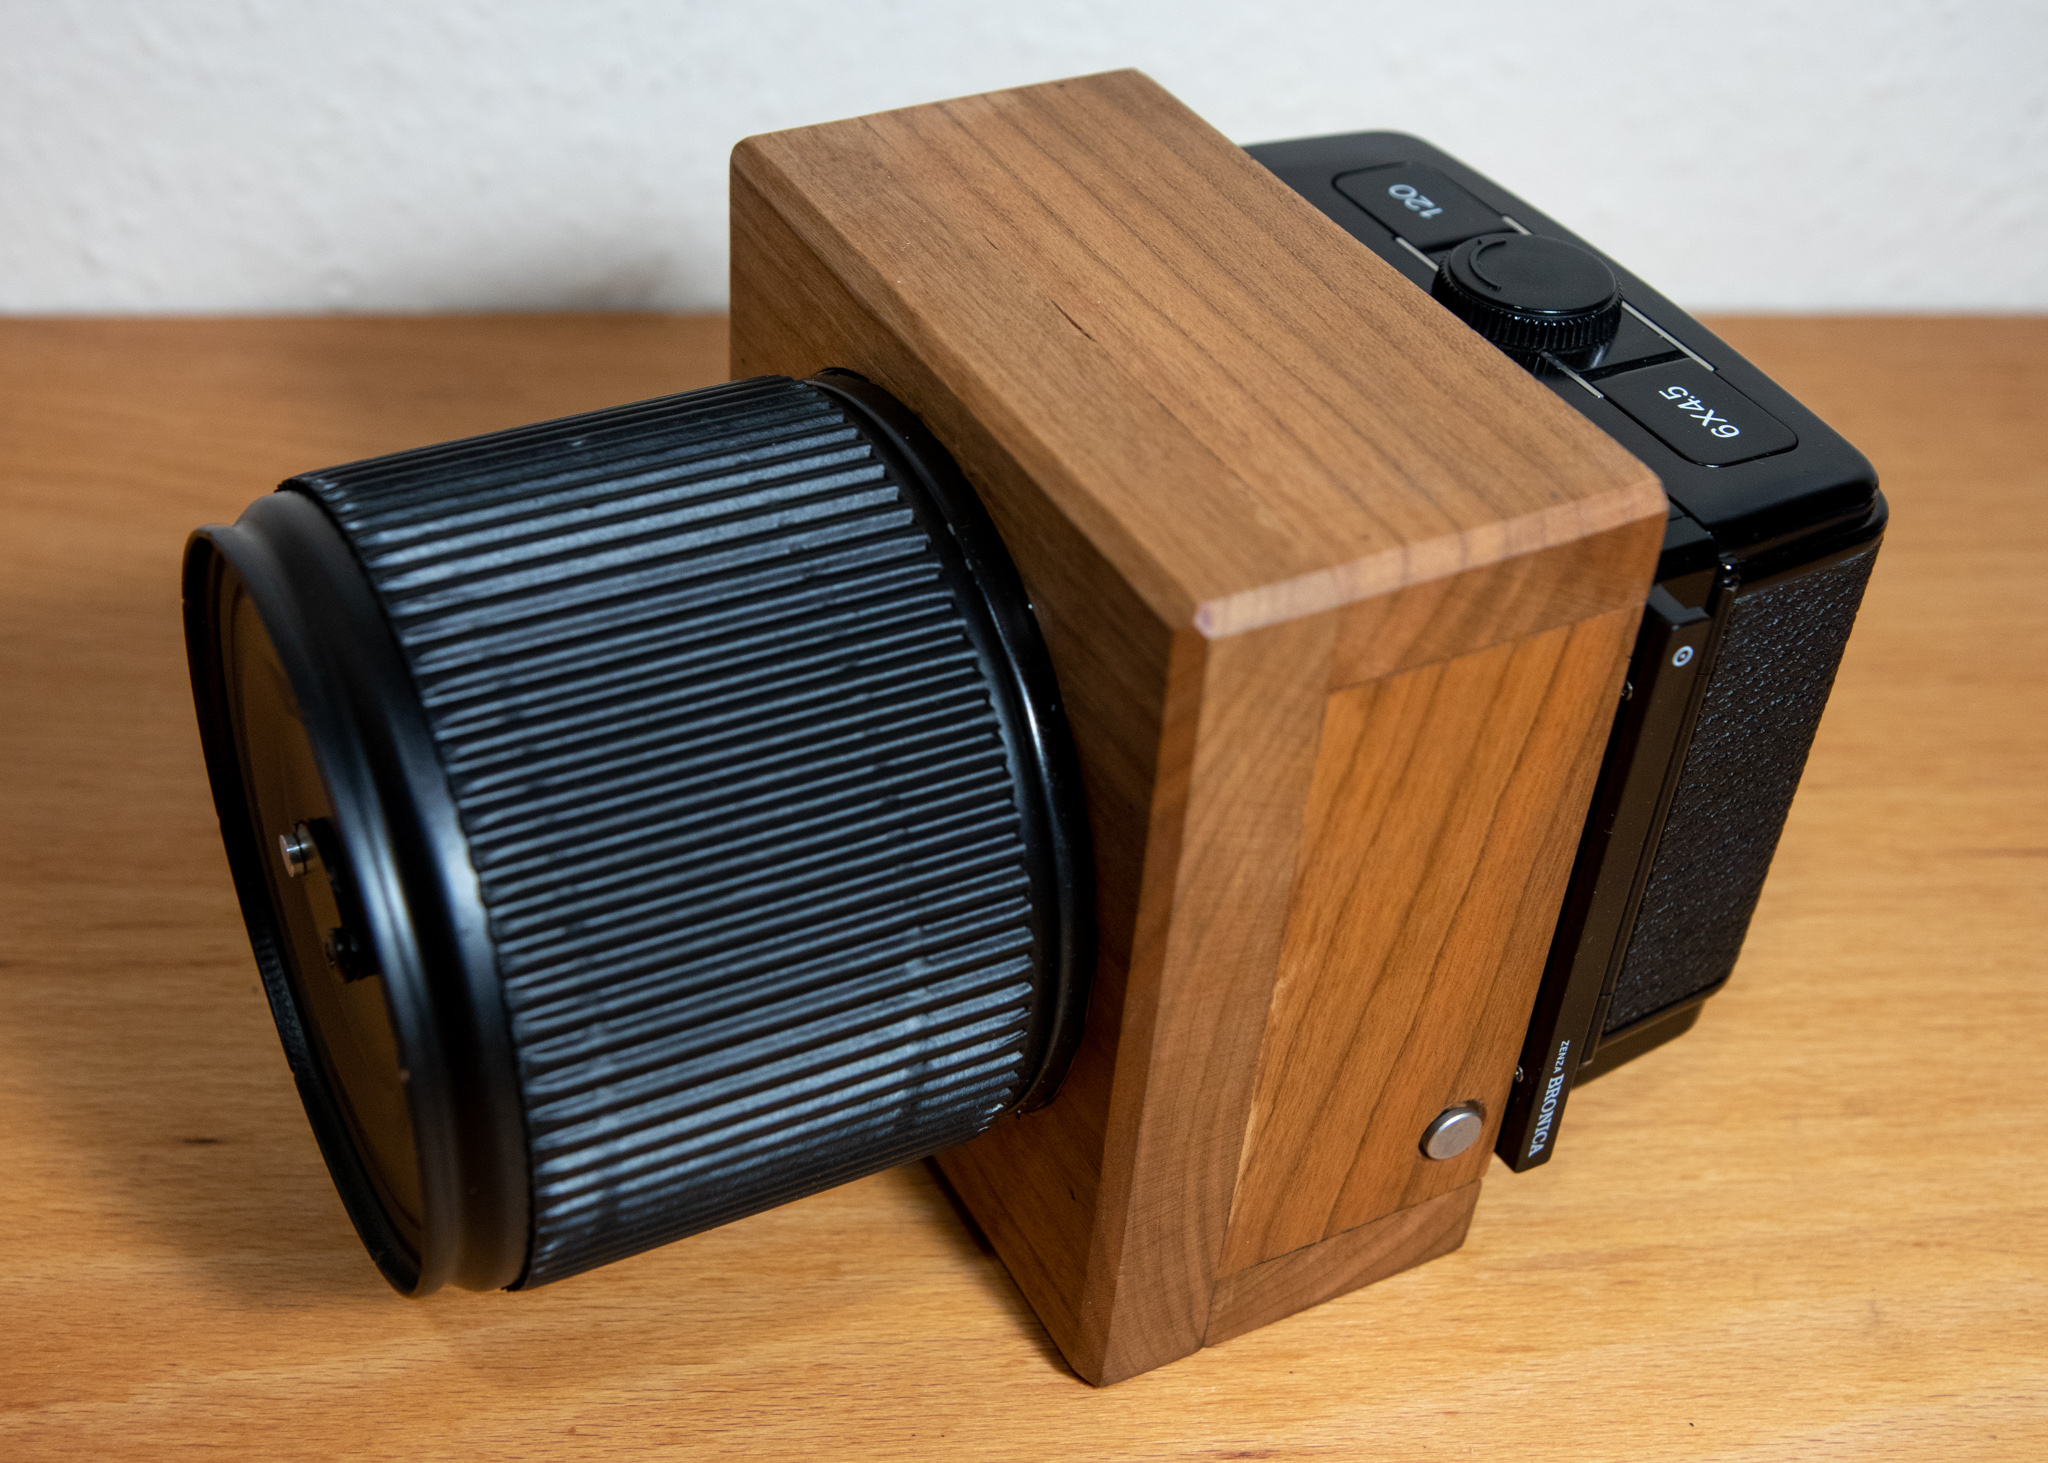
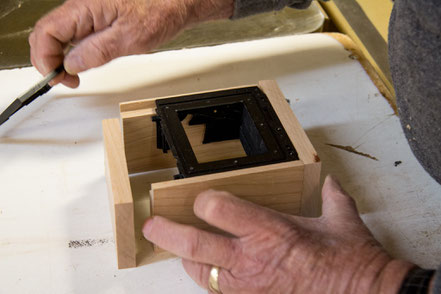
The camera body is built around a disassembled (don't worry it was broken before I tore it apart) GS-1 body. When visiting my step dad in California, he helped make a wooden housing to hold the metal parts.
I wanted to be able to attach and remove the film back easily while maintaining a light tight connection. Thanks to the GS-1 body, the film back attaches in exactly the same way it wold on an unmodified GS-1
Lenses
The "lenses" are made from coffee cans that have a screw top, shortened to the needed length. The lid is fixed in the camera body, so the different lenses can be screwed in.
At the moment I have made a 90mm f225 and a 140mm f270 lens.
The pinholes are laser "drilled" from Reality So subtile.

Mechanics
The shutter button is connected via a lever to the mechanism that controls the film advancing. After exposing a frame, pressing the shutter button unlocks the film and allows one to advance to the next frame.
Like on the original, removing the dark slide will lock the back to the body. When the dark slide is in place the film back can be removed normally.
First images

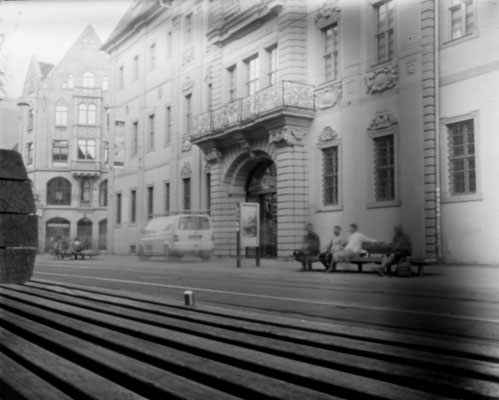
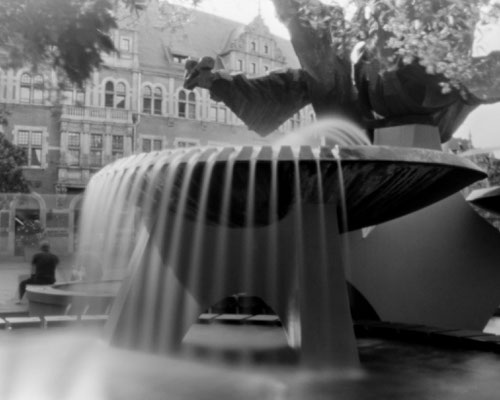
These were shot on Fomapan 100, and developed in Rodinal 1:200 for 60 min.
There are still a few things I would like to add to the camera...
First of all some pins to aid with composition, the plan is set two on the top of the body where the film edges are, and a third pin on the lens in line with the pinhole. Then one can sight down the pins to get an idea where the edge of the picture will be.
A 50mm lens would be great for wider shots, but for this requires the pinhole to sit inside the wooden housing, so the design that was used for the other lenses will not work. I will need to find a way to make this work
I would also like to add some cosmetics like a laser engraved name on the wood, and maybe the f numbers on the lenses.
But for now it works, and I am enjoying trying it out.
Write a comment